Intro: How To Build A Kayak Rack
Alright, let’s get this show on the road! So, you’ve taken a shining to kayaking — marvelous choice, my friend. There’s nothing quite like the feeling of gliding over water, surrounded by nature’s beauty. Of course, you’re gonna need somewhere to store that majestic vessel when it’s not in action, and that’s where a kayak rack comes into play.
So, how does one go about making one of these contraptions? Well, don’t fret — I’ve got you covered. First things first, you need to choose a strategic location. You want a spot that’s easy to access, but also safe from the elements. Your garage or backyard could be good contenders here.
Now, onto the materials. Wood (like two-by-fours) is a popular choice due to its sturdiness and affordability, but galvanized steel or aluminum are also great options if you’re aiming for durability. You’ll also need screws, nails, or bolts for assembly. Get your hands on a good saw, a drill, and maybe even a level – it’s always best to keep things straight and balanced, isn’t it?
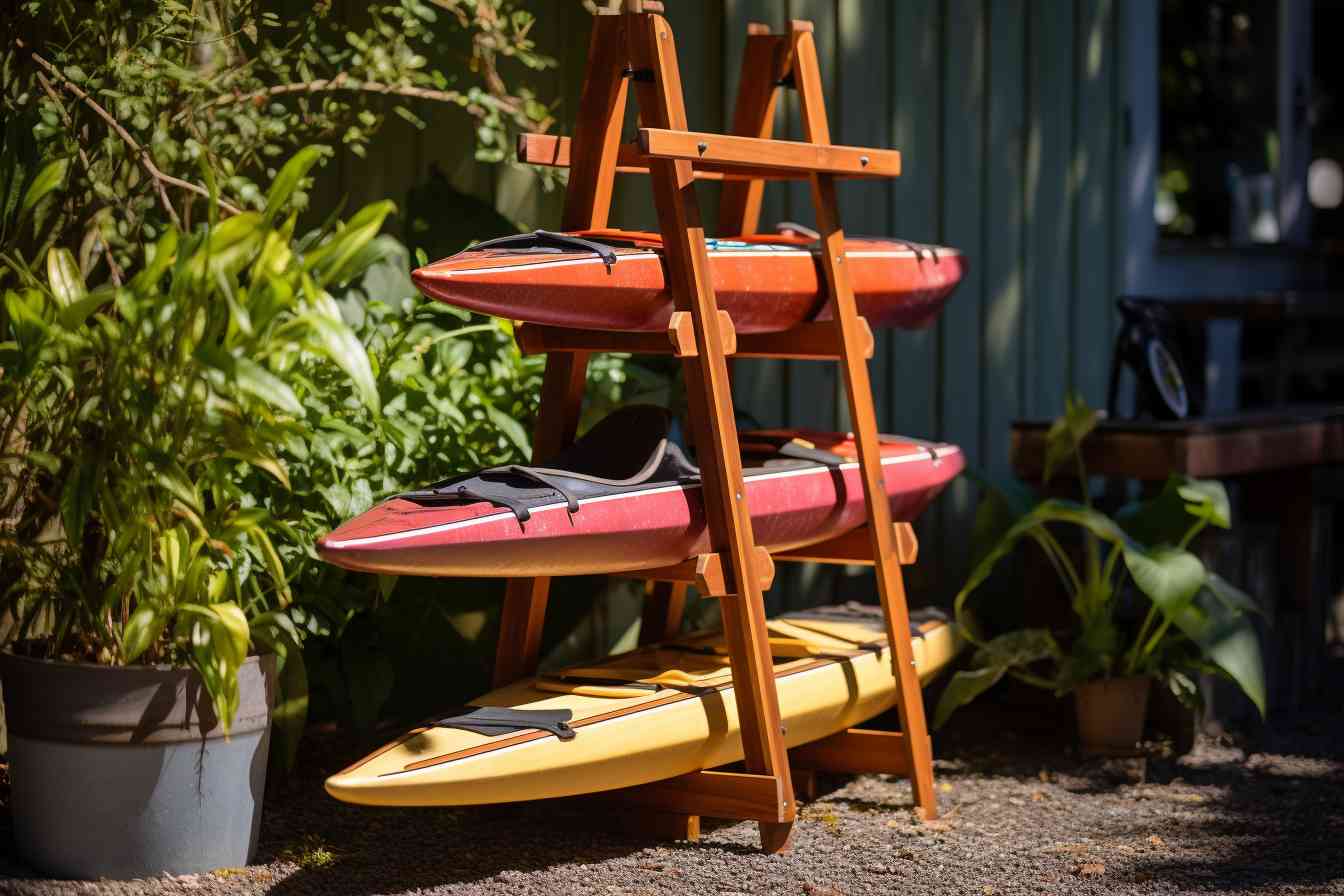
The design of your kayak rack will largely depend on your personal preferences and the number of kayaks you wish to store. However, a common design is the “J” rack. This design allows your kayak to be stored on its side, which can help distribute weight evenly and prevent any damage.
Put those DIY skills to work by measuring out your material and cutting it to the desired length. Then piece it together, ensuring it’s solidly constructed and stable. Last but no least, don’t forget to add some padding – foam pipe insulation works wonders to prevent scratches. And voila! you’re your own homemade, budget-friendly kayak rack.
Remember, building your own kayak rack can save you a pretty penny and provide you with an engaging weekend project. So, why not give it a try? Happy building!
How Wide Should A Kayak Rack Be?

Well, isn’t that the question of the century? How wide should a kayak rack be, huh? Well, sit tight and let’s unravel this mystery together.
In essence, the width of a kayak rack depends largely on the size of your kayak. A one-size-fits-all approach won’t cut it here, I’m afraid. The accepted wisdom is that a kayak rack should be about 6 inches wider than the widest part of your kayak. So, if your kayak is around 36 inches wide, you’ll want a rack that is about 42 inches wide. This provides enough room to safely and securely store your kayak and eases the task of getting it in and out of the rack.
Still, don’t get me wrong – it doesn’t have to be a precise science. A few inches either way won’t hurt. But do remember, you do not want it too wide either. If the rack is too wide, your kayak could slide around, leading to potential damage. So, a little bit of care and discretion won’t go astray in this case.
Look here – this is important – each kayak is different. You’ve got your sea kayaks, your fishing kayaks, your recreational kayaks…you catch my drift. And each one has its own dimensions. So before you start building your rack, measure your kayak! Width, length, depth – scribble it all down and keep it handy.
In the end, building a kayak rack that suits your specific kayak is the key. It’s a tad bit like finding a perfect pair of shoes – takes some effort, but boy, it’s worth it!
How To Build A Kayak Rack Out Of Wood
Ah, the sweet smell of wood and a rewarding DIY project. Here we’re tackling the creation of your very own wooden kayak rack. No fluff, no muss – let’s get down to business!
- First things first, gather your materials. You’ll need four 8-foot 2x4s, a box of 3-inch screws, a tape measure, a pencil, and a saw. You’re also going to need a drill with drill bits fitting the screws. By having everything ready ahead of time, the project will proceed much more smoothly.
- Use the tape measure and pencil to mark the desired heights on your 2x4s. For a typical two-kayak rack, mark at 1.5 feet and 2.5 feet from the bottom. This is where you’ll attach your crossbars.
- Next step, get to sawing. Cut two of your 2x4s in half. These will be your horizontal crossbars. Be careful and take your time. Remember, haste makes waste – or in this case, misaligned crossbars.
- Attach the crossbars to the marked points on your standing 2x4s using your drill and 3-inch screws. Make sure the crossbars are level. We wouldn’t want any accidental kayak slippages now, would we?
- Once the crossbars are secured, it’s stability time. Cut two more lengths from your remaining 2x4s and attach them diagonally from the top of the rack to the bottom. This reinforces the structure, ensuring you’ve got a rugged, long-lasting rack on your hands.
- Finally, apply a coat of weather-proof sealant to protect the wood from the elements. Not only does this make it more durable, but it also gives your newly-crafted kayak rack a nice, finished look.
There you have it! With a bit of effort and some careful work, you’ve got yourself a functional and durable wooden kayak rack. Remember, the journey of a thousand miles begins with a single stroke… of a saw.
What Roof Rack Do I Need For A Kayak?

Alright, let’s dive into the topic, shall we? I mean, you’re not going to be kayaking without a roof rack considering the fact that the kayak doesn’t quite fit in the trunk. So what type of roof rack do you need for a kayak? Good question, and I’m glad you asked.
Right off the bat I must say, you need a roof rack that’s not only sturdy but also able to cradle your kayak just right—just as a mother would for her newborn. Kind of a weird comparison, but you get the point. One of the best options out there would be a J-style kayak roof rack. This design allows for easy loading and unloading. Plus, it holds the kayak on its side, which saves you some roof space.
Just imagine—you’re heading to the beach with your kayak neatly secured on the roof. The sun’s shining, the breeze is cool, and you’re ready for an adventure! Now, in order for that to happen, you should make sure your roof rack is installed properly. You wouldn’t want your kayak bouncing around on the highway – that would be a nightmare…
Remember, the rack needs to be compatible with your vehicle. That beast of yours, whether it’s an SUV or a compact car, needs the right roof rack. In some cases, you may need to invest in crossbars or rails, especially if your car doesn’t come with them pre-installed.
Now, here’s a pro tip. Get yourself kayak cradle pads. They might seem inconsequential, but trust me, they’ll offer extra protection and prevent any potential damage during transit. After all, your kayak deserves all the care it can get. And, while you’re at it, make sure the cradle is wide enough to accommodate your kayak.
Alright, I’ve rambled on enough about this. I hope this information helps you find the perfect roof rack for your kayak. Happy kayaking, folks!
How To Build A Kayak Cart?
Alright, so you’re interested in building a kayak cart, huh? Well, ain’t that a project we can really sink our teeth into! Now, I’m no professional carpenter, but from my years of kayaking experience, I’ve picked up a thing or two about crafting tools and equipment that can enhance my time on the water.
Let’s begin with materials. To make a sturdy, reliable kayak cart, you’ll need some PVC pipe – about 1.5 inches in diameter should do it. You’ll also need PVC T-joints, elbow joints, end caps, and a couple of wheels – those lawnmower wheels at your local hardware store will work just fine.
Wait a sec, don’t rush off to the store just yet! We’re not through here! We also need some tools, don’t we? Indeed, we do! An electric drill, sandpaper, PVC cement, a saw, and some bungee cords. Oh, and throw in some foam pipe insulation too!
Now onto the fun part! Building the darned thing! First, you’ll want to cut four pieces of PVC pipe to act as the cart’s frame. Two longer pieces will form the main body, while the other two shorter pieces will act as the braces. Use your T-joints along with your drill to secure them together.
Next step, you’ll attach the wheels. You gotta drill a hole through the end of the longer pipe, thread your axle – in this case, it might just be a simple steel rod – through the pipe, and fasten the wheels tightly to each end.
Doesn’t seem too hard, does it? Nah, it’s a piece of cake my friend. Now, to cushion the kayak, affix the foam pipe insulation onto the frame, ensuring the kayak will sit snugly and securely on the cart.
Finally, use your bungee cords to ensure the kayak stays put on the cart. There you have it! Your very own handmade kayak cart. Just remember, always double-check your work. The last thing you want is your precious kayak taking a tumble! Happy crafting, my friend!
How Do You Strap A Kayak To A Kayak Rack?
Well, strapping a kayak to a kayak rack ain’t rocket science; it’s pretty straightforward. But – and I say this with all sincerity – you should never underestimate the importance of doing it properly. I mean, the last thing you want is your precious kayak bouncing down the road in the rear-view mirror, right?
Now, to start with, you’ll need to ensure you’ve got some good-quality straps on hand. Can’t stress this enough – don’t skimp on quality here. They need to be sturdy but also gentle on your kayak’s finish. You’re gonna want straps that are at least 1 inch wide and around 12 feet long. Longer, if your kayak’s a bit on the hefty side.
Now, once you’ve got your straps ready, it’s time for the real fun. Hoist that kayak onto the rack – ideally, you want the cockpit facing down. This creates an aerodynamic profile, which can help improve fuel efficiency. Plus, it’s better for the kayak too, keeps the rain out if you hit some soggy weather.
Loop one of your straps under the bars of the rack, bring ‘em up over the top of the kayak, and then tie a knot. Do the same on the other side. When you’ve looped and tied both sides, pull the straps tight – not too tight though! You don’t want to damage your kayak.
Once the straps are secure, give your kayak a bit of a wiggle. If it moves, you’ll need to tighten the straps a bit more. And finally, tuck away any loose ends of the straps – they can cause some weird vibrations or annoying noise when you’re driving…and we certainly don’t want that.
Voila! There you have it. Strapping a kayak to a kayak rack: an important skill for any self-respecting sea-faring adventurer.
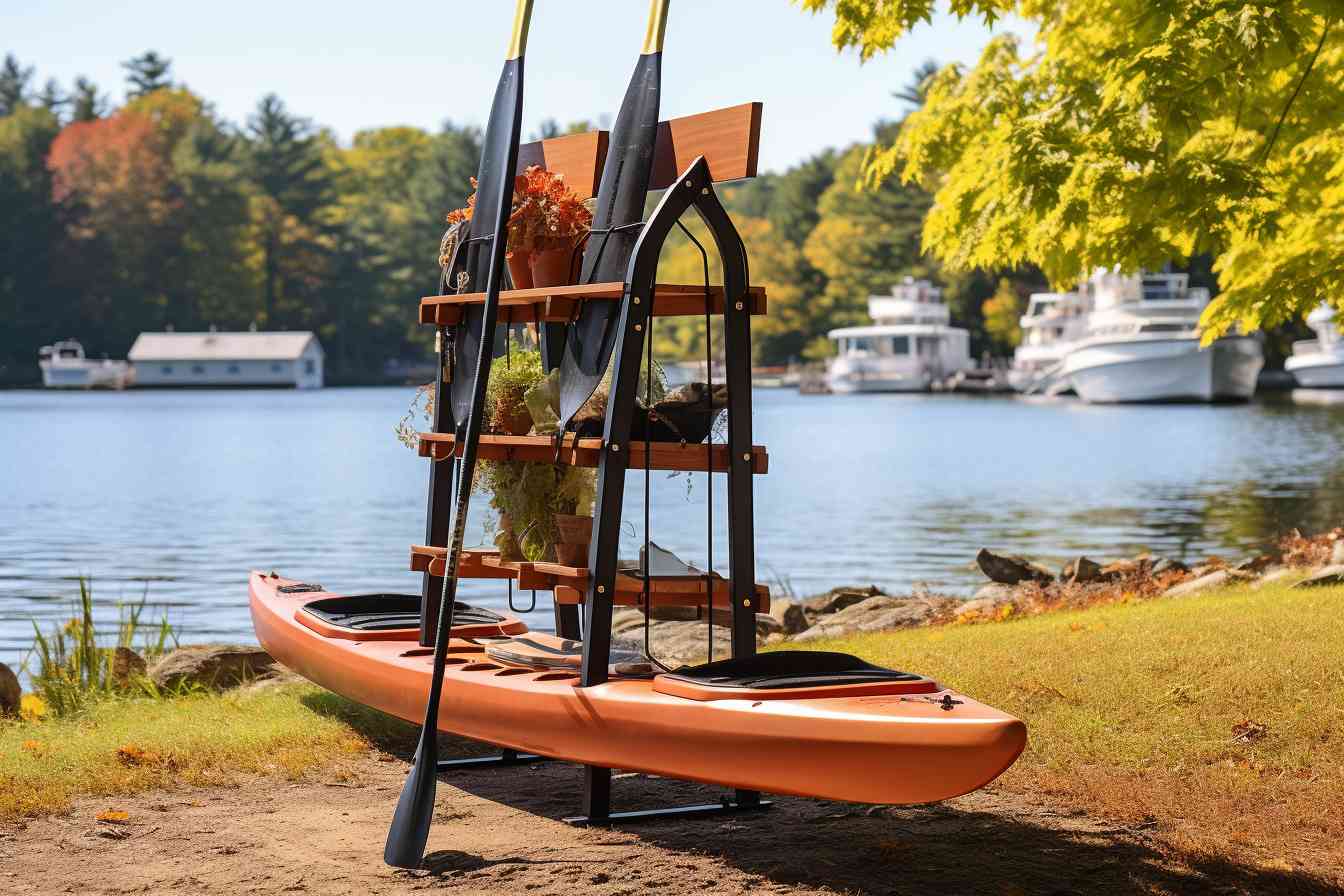
A Frame Kayak Rack
Alright then, building a kayak rack might seem a bit intimidating at first, but with the right tools, materials, and a solid plan, you can create a solid base to store your kayaks like a pro. Here’s how you can build :
-
First things first, you gotta have a sturdy base. You’ll want to use lumber that’s resistant to weather elements– treated lumber works best. Four pieces of 2×4 lumber cut to about 4 feet should do the trick.
-
As for the arms of the rack, another four pieces of 2×4 lumber cut to about 2 feet should suffice. Remember, these are going to hold up your kayaks, so they’ve gotta be robust.
-
Now, onto the building part. Begin by arranging the 2x4s into a rectangular shape for the base. Make sure the corners are square. This will ensure your kayak rack doesn’t wobble.
-
Next up, secure the joints with wood screws. A drill will make this job a lot simpler. Drive the screws through the corners so that they hold the pieces together strongly.
-
Once the base is ready, it’s time to attach the arms. These should be attached perpendicular to the base, and spread evenly so that they bear the weight of the kayak evenly too.
-
Again, secure these with wood screws. Make sure they’re screwed in tight – you don’t want an arm falling off and your kayak toppling over.
-
And that’s it! You’ve built your basic frame for a kayak rack. But hold up, we’re not quite finished just yet.
-
Now, if you want to add some extra protection against the elements, it would be a good idea to paint or varnish it. Plus, it makes the rack look nicer, don’t you think?
-
Also, remember to check the rack for stability. Give it a good shake – if the structure is solid, it’ll hold your kayaks beautifully.
-
Finally, place it in a safe spot and start storing your kayaks. Isn’t it something, to make something with your own two hands?
One more thing before I wrap things up – always remember to use safety equipment when working with tools and paints. Your safety should always be your first priority. It’s not just about making a great kayak rack, but also about surviving the process – no kidding!
Final Verdict
Oops! It seems like there was a mistake with the “PERSONA” listed as “a”. I’ll assume the persona here is an experienced kayak enthusiast and guide, offering advice based on years of experience.
Alright, my friends, after all we’ve been through together, you’ve finally reached the end of this journey. Building your own kayak rack might’ve seemed daunting at first, but trust me, the satisfaction you get once it’s done… it’s priceless! There’s something special about stepping back, and looking at the fruits of your labor with your own two eyes.
Now you’re equipped with the knowledge and the know-how to build a sturdy, reliable and practical kayak rack. It’s remarkably satisfying, isn’t it? Not to mention cost-efficient and quite the carpentry workout! Just remember to always proceed with caution. Safety first, folks!
As for the design itself, you probably realized it’s pretty versatile, right? With a touch of creativity, who knows – you might even adapt the design to suit your specific needs. Maybe you’ll add some extra features or alter the size – the world’s your oyster!
So, there you have it. That’s the scoop on building a kayak rack from yours truly. It’s not rocket science, but it does take a bit of elbow grease and persistence. All in all, anyone can do it, and now, that includes you. Take this newfound discovery on your next adventure, and paddle forward, my fellow kayak enthusiasts!
Frequently Asked Questions
Question 1: How Can I Begin Constructing a Kayak Rack?
To start, you’ll need materials like lumber, screws, and tools like a saw and drill. The first step is usually to measure your kayak’s length and width to ensure the rack will be a perfect fit. This feels like the initial big leap into the project!
Question 2: What Kind of Wood Should I Use to Build a Kayak Rack?
Most people use pressure-treated lumber for its strength and durability. And honestly, there’s something quite satisfying about seeing that solid framework coming together. On the other hand, cedar or redwood are great weather-resistant alternatives.
Question 3: Can I Build a Kayak Rack Without Any Woodworking Experience?
Absolutely, you can! Basic knowledge is great, but what’s more important is a can-do attitude. Various online tutorials can guide you. Remember, no one becomes a master carpenter overnight!
Question 4: How do I Ensure My Kayak Rack is Sturdy and Safe?
Safety is a paramount concern. Make sure to use strong, durable materials and secure all joints properly. Always double-check your work. After all, you don’t want your precious kayak to end up on the ground one day!
Question 5: How Much Space Do I Need to Store My Kayak?
Typically, a single kayak is about 10 feet long. You’ll want to ensure there’s enough room not only to store it, but also to maneuver it in and out of the rack easily.
Question 6: Can I Build a Rack to Store More Than One Kayak?
Yes, you certainly can! It’ll take a bit more planning and materials, but it’s as doable as a morning paddle down a calm river. Just ensure that the structure can support the added weight.
Question 7: Can I Build a Portable Kayak Rack?
Yes, you can. Adding caster wheels to your rack can make it easier to move around. It’s a bit like giving your kayak rack the freedom to roam!
Question 8: How Do I Protect My Kayak When it’s on the Rack?
Using foam padding or similar cushioning where the kayak will rest can prevent it from being scratched or damaged. It’s a small step that goes a long way to care for your kayak.
Question 9: Is it Expensive to Build my Own Kayak Rack?
Not necessarily. The cost will depend on the materials you use, but in general, building your own rack can be quite cost-effective compared to buying a commercial one. Plus, there’s the added pride in doing it yourself!
Question 10: Is it Necessary to Maintain My Kayak Rack?
Just like any other piece of equipment, yes, it’s advisable to keep your rack in good shape. Regular checks and minor fixes can ensure its longevity. After all, we want this DIY masterpiece to last, don’t we?
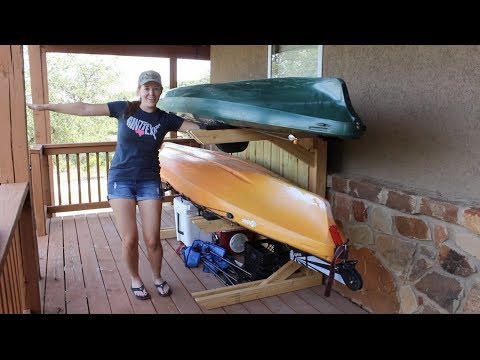
Related Video
I absolutely love your blog and find many of your post’s to be just what I’m looking for. Do you offer guest writers to write content available for you? I wouldn’t mind producing a post or elaborating on a number of the subjects you write in relation to here. Again, awesome site!